
A COFFEECHARMER GUIDE
Better Coffee at Home
You don’t need fancy gear, a barista certificate, or a kitchen scale collection to make coffee that actually tastes good. You just need to know which few things matter — and which ones you can skip.
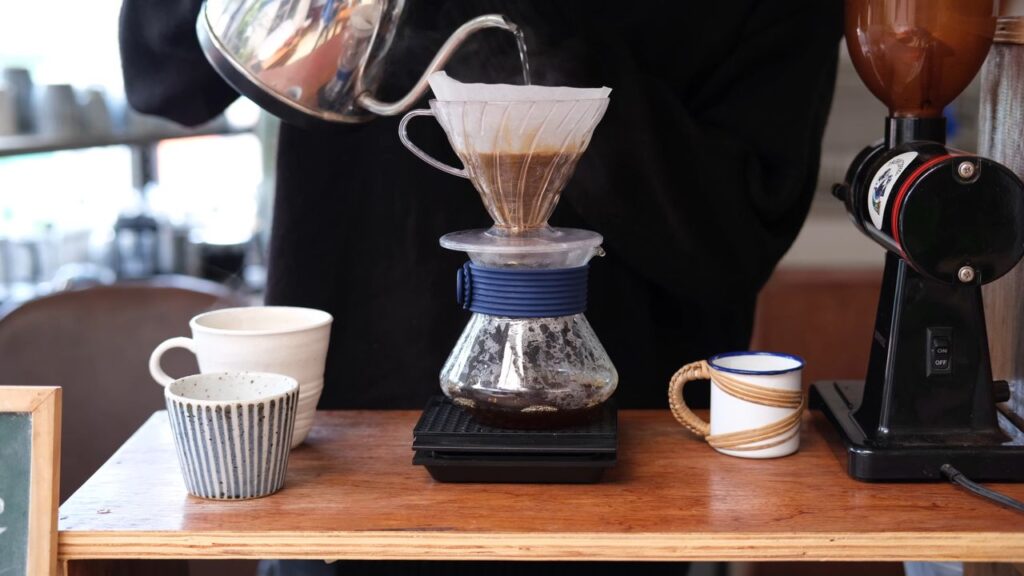
Better Coffee, Not Fussier Coffee
Here’s the thing nobody tells you at the start: most of what makes coffee taste better at home has nothing to do with buying more stuff. It’s freshness, a decent grind, and doing the same good thing on purpose instead of a slightly different thing by accident every morning.
You don’t have to weigh your beans to the gram, own three brewers, or start correcting people’s pour-over technique at parties. (Please don’t. Nobody likes that person.) You just need a few small habits that actually pull their weight.
This page walks through the ones that matter most — in the order we’d tackle them if we were starting over ourselves.
No judgment about what’s in your cup right now. We just want to help you get more out of it.
The 8 Things Worth Doing
Jump to whatever you’re curious about — or just scroll and read the whole thing with your coffee in hand. Seems appropriate.
Start With Fresher Beans
If you only change one thing after reading this page, make it this one. Fresh coffee makes a genuinely big jump in flavor, and it’s honestly one of the easiest upgrades on this whole list — no new gear required, just paying attention to a date on a bag.
Coffee starts losing its best flavors within a couple of weeks of roasting. It’s not spoiled exactly — it’s just quietly fading, like a song playing through a wall. Most grocery store bags don’t even list a roast date, just a “best by” date that can be a year or more out. That’s not a red flag on its own, but it does mean you’re flying blind on freshness.
Here’s the easy fix: look for a bag with an actual roast date on it, and try to brew it within a few weeks of that date. That’s it. You don’t need to switch roasters every week or chase the “freshest” possible bag like it’s a competitive sport — just get in the habit of checking for a date and using coffee while it’s still lively.
Now, once you’ve got fresh beans, the next real lever is your grinder — more on that further down, since CoffeeCharmer’s stance is that the grinder is the single most important piece of hardware in your whole setup. And yes, dialing in grind size, water temp, and brew time does make a real difference once you start paying attention to them — it’s worth learning and it will genuinely up your game. But here’s the thing: none of that should feel stressful. This isn’t a science exam, it’s coffee. If mornings are rushed, a good SCA-certified drip machine will quietly handle a lot of that dialing-in for you automatically. Don’t have one? No worries at all — just work with what’s already on your counter. And honestly, if you’re in a hurry one morning and the cup comes out a touch bitter, just add a splash of cream and get on with your day. Nobody’s coming to take your coffee card.

Try This: Next time you buy coffee, flip the bag over and look for a roast date. If you can’t find one, that’s useful information too — it just means freshness is a guess instead of a fact.
| Older / Undated Coffee | Fresh, Dated Coffee | |
|---|---|---|
| Flavor | Flat, dull, sometimes stale or papery | Bright, distinct, more of “itself” |
| Aroma | Faint or generic | Noticeable when you open the bag |
| Roast date | Often missing | Usually printed on the bag |
| Your effort required | None | Just check the date |
Curious what “near-specialty” coffee even means, and how it’s different from what’s on the grocery shelf? Read more here.
Store Coffee Like It Matters (Because It Kind Of Does)
You did the hard part — you bought fresh coffee. Don’t undo it by leaving the bag open on the counter next to the stove for three weeks. Coffee is basically a sponge for air, light, heat, and moisture, and all four of those are working against you the moment that bag gets opened.
The good news is that good storage is boring and cheap, not fancy or expensive. Here’s what actually helps:
- Keep air out. Roll the bag down tight and clip it, or transfer coffee to an airtight container.
- Keep it dark. Light breaks coffee down faster than most people realize. A cabinet beats a countertop.
- Keep it cool and dry. Room temperature, away from the stove, oven, or a sunny window.
- Skip the fridge for daily use. It invites moisture and odors from everything else in there. (Your coffee does not want to taste like last night’s leftovers.)
- Freezer, only if needed. If you buy in bulk and won’t finish it in a couple of weeks, portioning extra into a well-sealed container in the freezer can help — just don’t open and close it constantly.

Try This: Move your coffee off the counter and into a cabinet, in a container that seals well. That’s the whole upgrade — no purchase required unless your current container is basically a paper bag with good intentions.
Grind It Right Before You Brew It
Ground coffee is basically fresh coffee with the clock sped up. The moment beans are ground, all that surface area gets exposed to air, and the clock on flavor starts running fast — you go from “weeks to enjoy it” to “hours before it noticeably fades.”
That doesn’t mean pre-ground coffee is ruined or that you’re doing it wrong if that’s what you use — plenty of people brew great cups from pre-ground bags, especially if it’s used up quickly. But if you want a genuinely bigger upgrade than almost anything else on this page, grinding right before you brew is it. It’s a bigger jump in flavor than switching brewers, and it costs nothing if you already own a grinder.

Try This: If you already own any kind of grinder — even a basic blade grinder — grind your beans the morning you’re going to drink them instead of the night before, or instead of grinding a week’s worth at once. Small change, real difference.
Keep the Routine Simple — and Repeat It
If you are okay with it, here’s a quiet truth about home coffee: a lot of “bad” cups aren’t actually bad coffee; they’re inconsistent coffee. Different amount of grounds one day, different amount of water the next, and brew time depends on how distracted you were by your phone. Every cup becomes its own experiment, and experiments don’t always taste great.
The fix isn’t more skill—it’s picking one basic method and one basic routine, then running it the same way each time. Same rough amount of coffee, same rough amount of water, same rough brew time. Once that’s consistent, you’ll actually be able to tell what’s working and what isn’t, instead of guessing in the dark every morning. If you are okay with different outcomes, try different brewers to see the difference in taste. The key is to try to keep the other facts, like grind sizes, water, water temp, and the same beans, the same. I am not telling you not to be curious and explore different tastes. What I am saying is if you are dissatisfied, then be consistent so you can change grind size ,etc
- Pick one brew method you actually enjoy using — pour-over, French press, drip machine, AeroPress, whatever fits your morning. The “best” method is the one you’ll actually stick with.
- Use roughly the same amount of coffee and water every time. Doesn’t need to be exact yet — just consistent.
- Brew for roughly the same amount of time. A phone timer is free and works fine.
- Taste it on purpose. Not analyzing it like a competition — just noticing if you liked it more or less than yesterday.
- Adjust one thing at a time if something’s off (more on that in the troubleshooting section below).
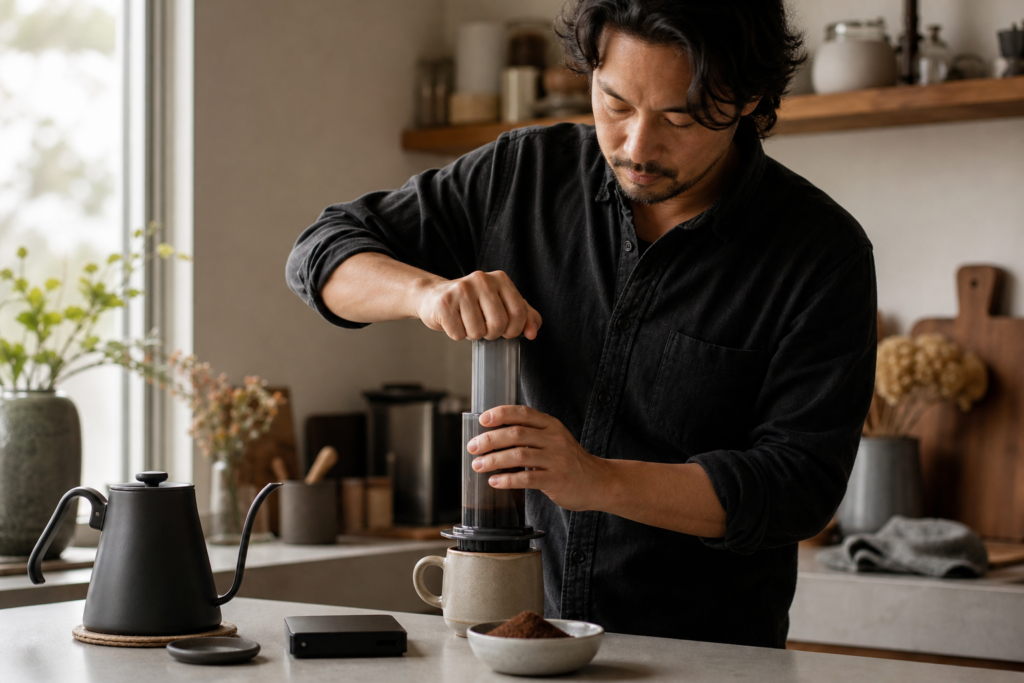
Try This: For the next week, brew your coffee the exact same way every day — same scoop, same water level, same timer. You’re not locking in your forever method, just giving yourself a fair baseline to compare against.
Use a Scale When You're Ready (No Rush)
A scale isn’t a beginner requirement, and it’s definitely not a membership card into “serious coffee people.” It’s just a tool that makes your routine easier to repeat — because “a scoop of coffee” can vary a surprising amount depending on the scoop, the bean size, and how generously you’re feeling that morning.
Once you’ve got a simple routine down, a scale lets you lock in the amounts that tasted good and reproduce them on purpose instead of hoping muscle memory cooperates. It also makes it much easier to figure out what actually caused a cup to taste better or worse, since you’re not guessing about quantities anymore.
You don’t need anything expensive here — a basic kitchen scale that measures grams works fine. This is a “when you feel like it” upgrade, not a “you’re doing it wrong without one” requirement.
| Scooping by Eye | Weighing on a Scale | |
|---|---|---|
| Consistency | Varies day to day | Same amount every time |
| Cost | Free | Low — basic gram scales are inexpensive |
| Effort | None | A few extra seconds per brew |
| Best for | Casual, no-pressure mornings | Dialing in and repeating a good cup |

Try This: Not ready to buy a scale? Just start noticing how many scoops you use and try to keep it consistent. When you are ready for a scale, you’ll already have a rough baseline to convert.
Why a Good Grinder Matters More Than You'd Think
If fresh beans are the biggest lever on this list, the grinder is the second-biggest — and it’s the one people underestimate the most. A grinder’s job is to cut coffee into pieces that are all roughly the same size. That sounds simple, but it’s the difference between water extracting evenly from your grounds versus extracting unevenly, which is a big part of why coffee sometimes tastes bitter, sour, weak, or all three in the same cup.
Blade grinders (the kind that spin a little propeller-like blade) chop coffee into a mix of chunks and dust rather than a consistent size. That inconsistency means part of your coffee gets over-extracted and bitter while another part is under-extracted and sour or weak — at the same time, in the same cup. It’s not that blade grinders are “bad” or that you’ve been doing something wrong — they’re just working against consistency by design.
Burr grinders use two abrasive surfaces to crush coffee into a much more even, consistent size. That evenness is what lets water extract more uniformly, which is a big part of why coffee from a burr grinder tends to taste cleaner and more balanced — even using the exact same beans and brew method.
If you’re only going to upgrade one piece of equipment after fresh beans, make it your grinder before your brewer. A great brewer with an inconsistent grind will always be fighting an uphill battle.
| Blade Grinder | Burr Grinder | |
|---|---|---|
| Grind consistency | Uneven — mix of chunks and dust | Even, consistent particle size |
| Typical result | Can taste bitter, sour, or muddled | Cleaner, more balanced flavor |
| Adjustable grind size | Usually no | Usually yes |
| Cost | Lower | Ranges from budget to pro-level |
| Good starting point? | Fine for getting started | Worth prioritizing when you’re ready to upgrade |
Try This: If you’re using a blade grinder right now, no need to feel bad about it — plenty of people start there. Just know that when you’re ready for your next equipment upgrade, a basic burr grinder will likely do more for your cup than a fancier brewer will.
Looking for grinder recommendations at different budgets? See our Grinder Guide for picks that won’t break the bank.
When Coffee Tastes Off, Start Here
Every home brewer ends up with an off cup sometimes — too bitter, too weak, tastes like a wet sock, whatever it is. The fix is almost never “buy new equipment.” It’s usually one small adjustment. Here’s a simple starting point:
Tastes bitter or harsh
Likely cause: Grind may be too fine, brew time too long, or water too hot.
Quick fix: Try a slightly coarser grind, shave a little time off your brew, or let boiling water rest for 30 seconds before pouring.
Tastes weak or watery
Likely cause: Not enough coffee for the amount of water, or grind too coarse.
Quick fix: Add a bit more coffee next time, or try a slightly finer grind.
Tastes sour or sharp
Likely cause: Under-extracted — often grind too coarse or brew time too short.
Quick fix: Try a finer grind or let it brew a little longer.
Tastes stale or flat
Likely cause: Beans are older than they taste like they should be, or stored poorly.
Quick fix: Check the roast date, and revisit your storage setup.
Tastes inconsistent from day to day
Likely cause: Routine isn’t repeatable yet — amounts or timing are shifting.
Quick fix: Go back and lock in a consistent, repeatable routine before troubleshooting flavor.
Change one thing at a time. If you adjust the grind and the brew time and the amount of coffee all at once, you won’t know what actually fixed it — and next time you’re back to guessing.
Write Down What Worked
This is the most underrated tip on the whole page, and it takes about ten seconds. When you make a cup you really like, jot down what you did — the beans, the grind setting, the amount of coffee and water, the brew time. Doesn’t need to be fancy. A sticky note on the coffee canister counts.
The reason this matters: your “best cup” is easy to stumble into once and nearly impossible to remember three weeks later. Writing it down turns a lucky accident into a recipe you can actually repeat — and it makes troubleshooting so much easier, because you’ve got a known-good baseline to compare against when something tastes off.
Try This: Next time you love a cup, write down exactly what you did before you forget. Future-you, groggy and pre-coffee, will thank present-you.
What Matters Most (and What Can Wait)
If this page feels like a lot, here’s the short version. You don’t need to do all eight things this week — just start with what’s easiest for you, and let the rest come later.
| Do This First | This Can Wait |
|---|---|
| Buy coffee with a roast date | Buying a scale |
| Store it sealed, dark, and cool | Upgrading your brewer |
| Grind closer to brew time | Fine-tuning exact ratios |
| Pick one method and repeat it | Owning multiple grinders/brewers |
| Write down what worked | Perfecting pour technique |
None of this requires becoming a different kind of coffee drinker. It just means paying a little more attention to a few things that were quietly working against you before.
Want This as a Printable Cheat Sheet?
If you’d rather have this on your counter than scrolled through on your phone, grab our free guide, Brew Better: Core Methods — it covers the core brew methods with simple ratios and printable brew cards, so you can dial in your routine without rereading this whole page every morning.
Free download. No fancy gear required — promise.
Keep Learning
What “Fresh” Actually Means in Coffee
Roast dates, sell-by dates, and why they’re not the same thing.
Choosing Your First Real Grinder
Blade vs. burr, and what’s worth spending on first.

What Shapes the Cup
A quick look at how origin, roast, and brewing all play a part.
Better Coffee Is a Habit, Not a Purchase
Pick one thing from this page — just one — and try it this week. Fresher beans, better storage, grinding right before you brew, whatever feels doable. That’s genuinely how this works: small, repeatable habits beat any single piece of gear.